How to grate and chop chocolate
13 Apr 2021
Take your chocolate skills to the next level by learning how to expertly create cacao shavings and curls
Grating and chopping are two simple techniques that can elevate the way you cook with bars from our Chocolate Collection. If you want to shave, curl and chunk like a true chocolate connoisseur, here’s what you need to know.
Tools you will need
You can grate chocolate with an ordinary box grater, but a Microplane makes short work of the job. A Microplane is an excellent tool if you want to dust a cake or dessert with grated chocolate.
When it comes to creating chunks of chopped chocolate for cookies or smooth and even melting, you’ll need a knife that can power through the job. A serrated bread knife or sharp chef’s knife is ideal.
If you want to create curls, make sure you have a sharp vegetable peeler in your chocolate toolkit.
How to grate chocolate
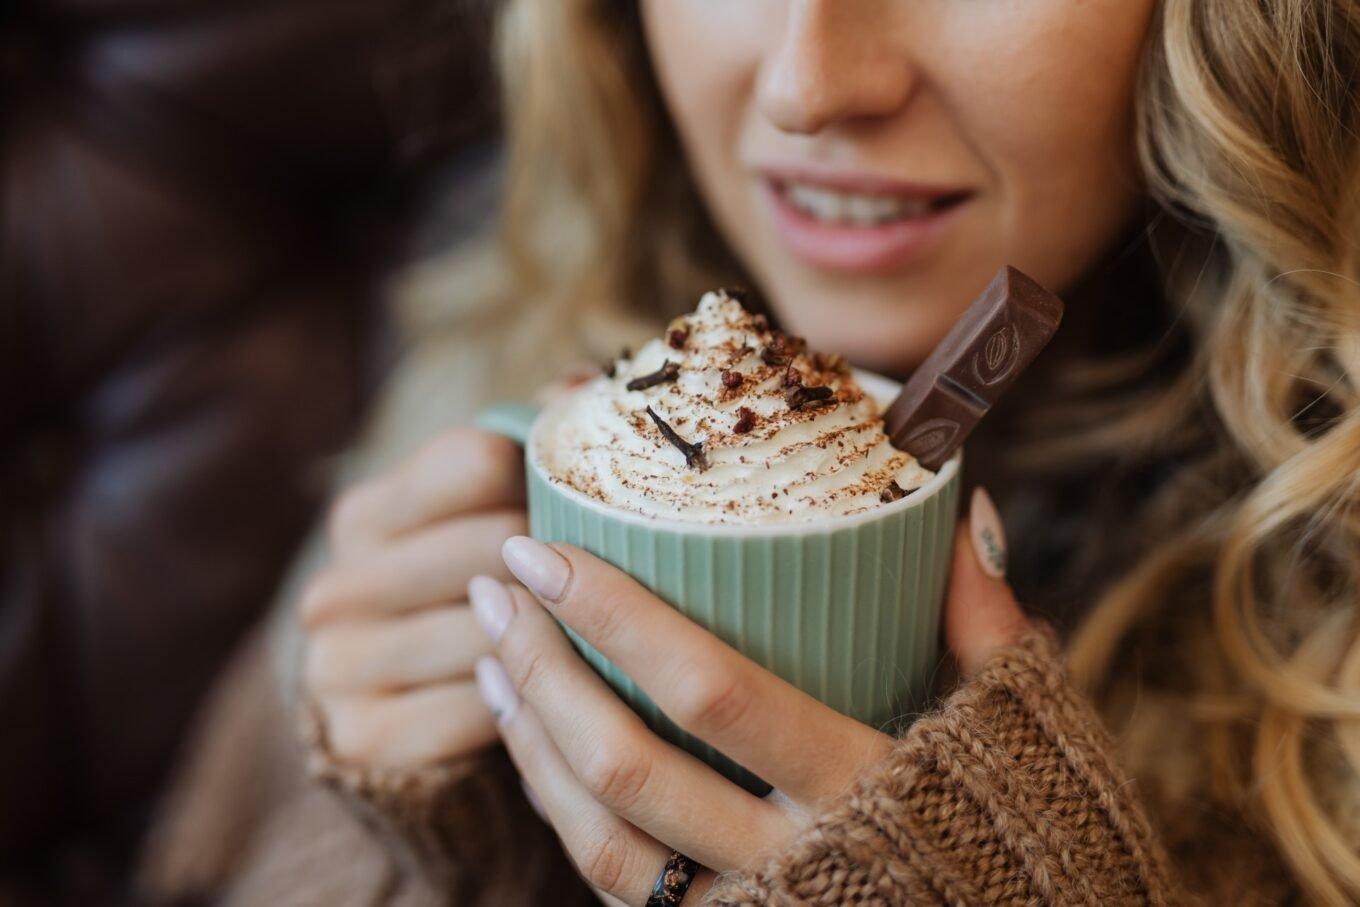
Before you start grating, chill your chocolate and your grating tool in the fridge for 15 minutes before gently grating. Microplaned chocolate can add height and style to cakes, chocolate mousse or hot chocolate.
To create a truly gorgeous finish, use a fine grater to create a powdered chocolate effect. Dust across the top of your dessert, or use a stencil to create a highly decorative finish.
Best chocolate for grating
Our 70% Dark Chocolate Slab Selector would be the perfect choice for grating. Its high cacao content gives it a more rigid structure that stands up well when grated. Also, its rich flavour profile is ideal for adding a decadent edge. Or try a dusting of grated Dark Mint Chocolate over strawberries or oranges for a quick and delicious dessert.
You can grate chocolate of all cacao percentages, but you’ll need to chill milk and white chocolate well before use as the cocoa butter starts to melt fast on contact with your skin.
Grating vs shaving
Grating is an easy way to elevate the look and taste of everything from a breakfast smoothie to your favourite bake. We also recommend that you grate chocolate before melting for a smooth and even result – ideal for dipping strawberries or a crisp and delicate Neapolitan Macaron. But if you want to make anything look just a little more elegant and expert, you need the curl.
Both techniques are relatively easy to master. There’s no need to be intimidated – if you have the right equipment, chill everything down and have patience, you’ll soon be decorating like a chocolatier.
Shaving to get the curl
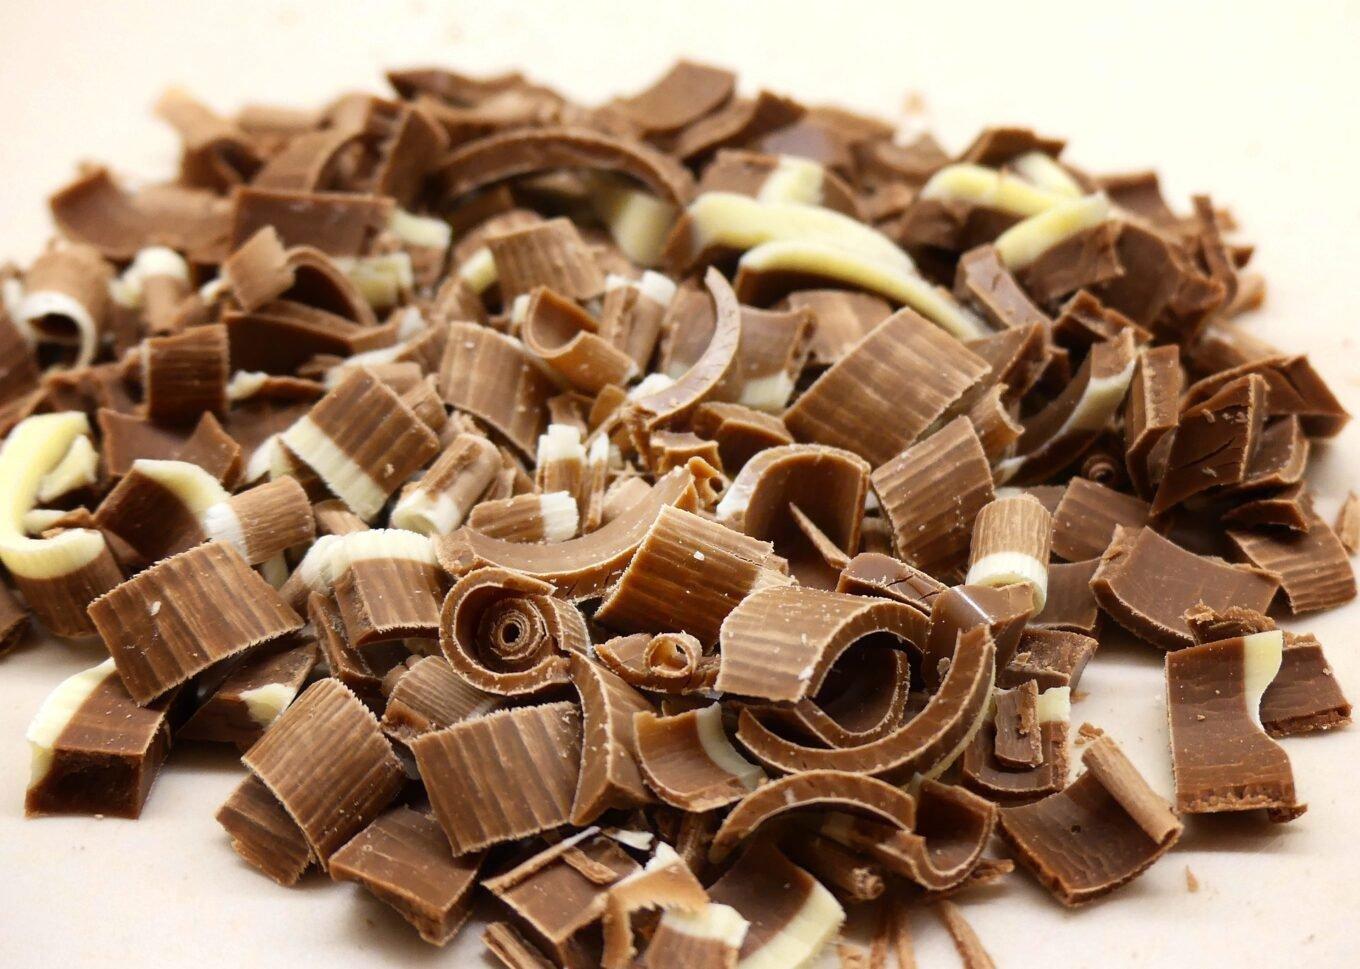
Shaving chocolate is a technique that’s easier than you think. Try going as dark as you dare with our 90% Dark Chocolate Slab – the darker the chocolate, the more complex the flavour and the more successful the results.
Chill the chocolate and your vegetable peeler before you start for the best results. Then stroke the vegetable peeler along the edge of the bar to create a cascade of chocolate curls that would grace any patisserie window.
Continue until you have enough to create an impression on top of your gateau. For a real showstopper, try shaving a well-chilled So Good Together Slab for an intriguing two-tone effect.
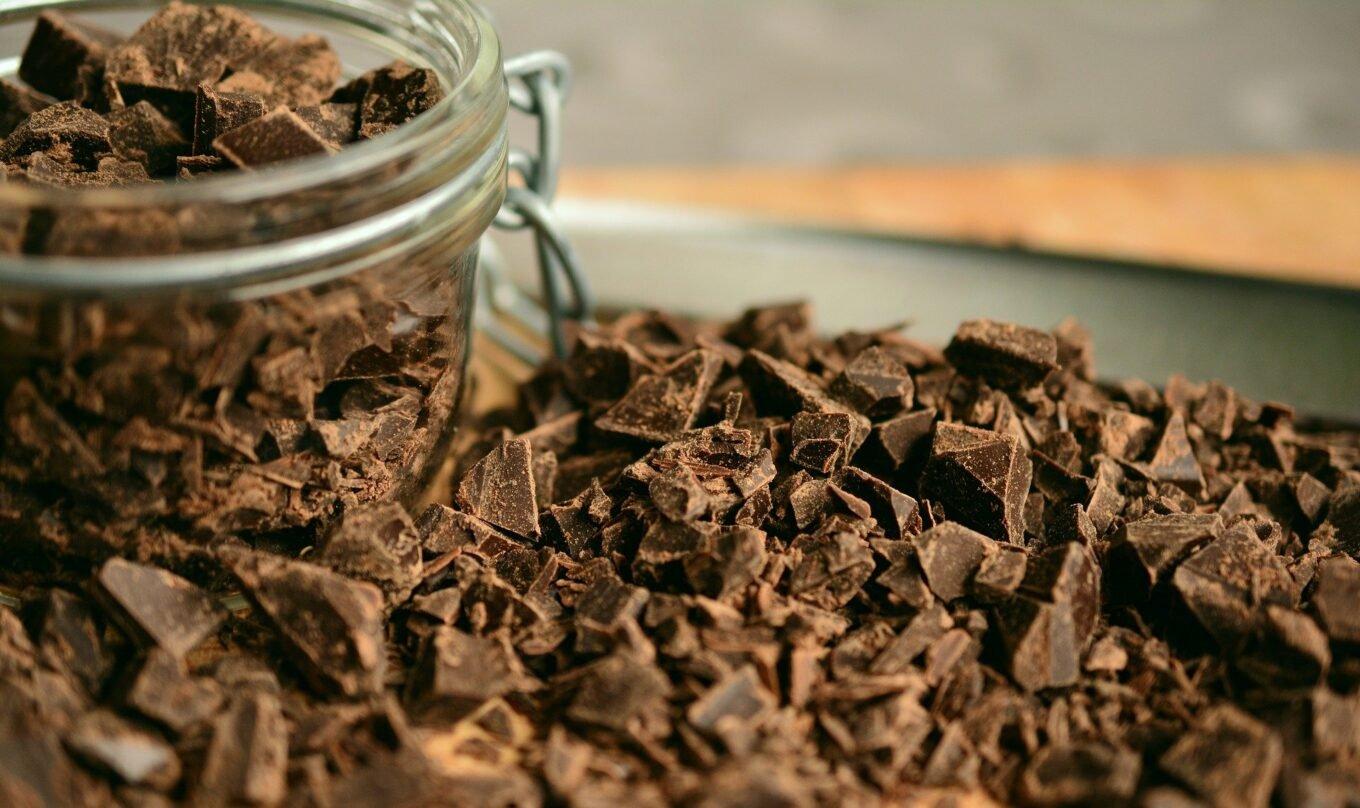
How to chop chocolate
Knowing how to chop chocolate is a technique that should be in any good cook’s armoury. You can create anything from chocolate rubble for dusting your dessert plates to gooey and gorgeous chunks for your brownies and cookies. And did we mention that chopped chocolate melts quickly and easily for perfect results?
One quick tip before you start chopping – try dropping your unwrapped chocolate slab onto your kitchen worktop. Then unwrap and start chopping with your knife of choice.
With a chef’s knife, angle the blade so the tip is against the chopping board. Then press down evenly and firmly to start sculpting the bar into chunks the size you need.
A serrated bread knife requires less effort, giving you both power and accuracy. Press straight down to start chopping your chocolate, pushing the blade through the bar.
A marble or granite slab is ideal for chopping chocolate. It stays cool so your chocolate won’t start to melt before you’ve finished chopping. But a plastic chopping board will also give good results. Avoid chopping your chocolate on a wooden board. These retain moisture and can affect the texture of the chocolate.
Chopping for melting and baking
The great thing about chopping chocolate for baking is that you get to create pieces the size you want. Is there anything more appealing than a cookie oozing with delectable chunks and speckled with chocolate shavings? Or the perfectly decadent drip for your chocolate drip cake?
Chopping your own choice of chocolate for melting, baking and decorating gives you complete freedom to control the quality of the bar you use. Can’t decide which cocoa percentage works best for you? Then keep tasting until you find a bar that creates the perfect flavour profile for your bakes.
The point is that you’re in charge – and mastering simple techniques like chopping and grating chocolate will elevate your baking game with rich, complex and delicious results.