A beginner’s guide: How to temper chocolate
18 Feb 2025
This guide will provide you with everything you need to know about tempering chocolate like a pro chocolatier. Elevate your cacao creations to new heights with Hotel Chocolat.
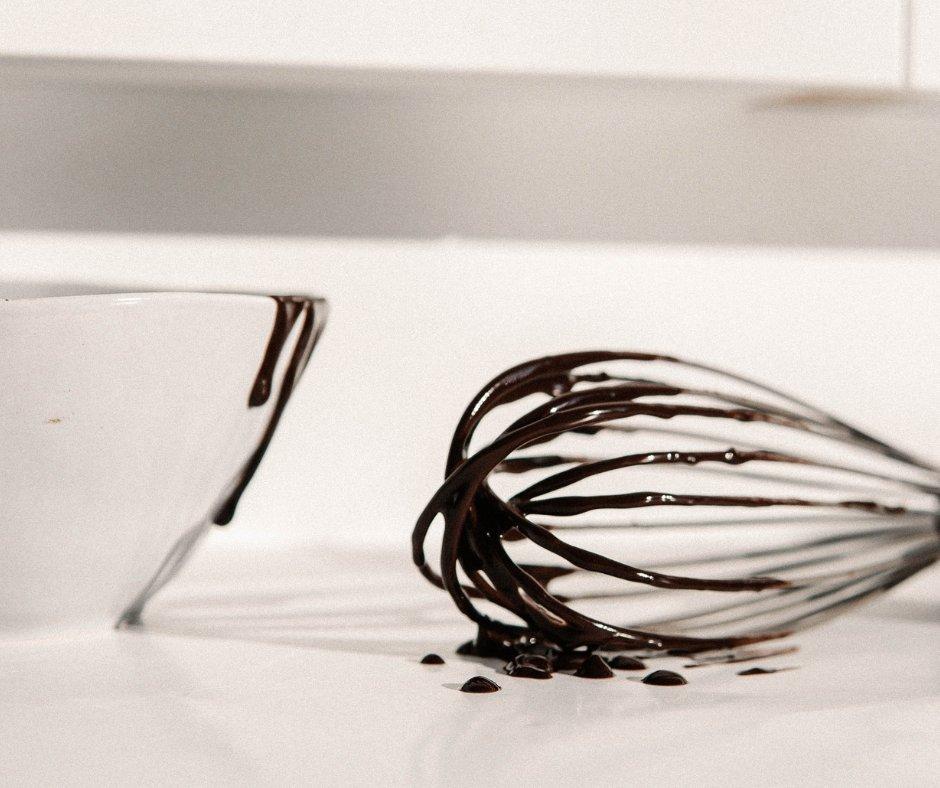
Our chocolate is known for being glossy, smooth, and satisfyingly snappable. But have you ever wondered how our products achieve such a sleek, professional finish? The secret lies in a process called tempering — and it can transform melted chocolate into a whole new taste experience.
If you’ve ever dreamt of crafting your own silken chocolate truffles or perfecting the snap of a homemade chocolate bar, this beginner’s guide will take you through everything you need to know about how to temper chocolate like a true master.
What is tempered chocolate?
Tempered chocolate can be defined as chocolate that has been carefully heated and cooled to create a stable crystalline structure. In non-food-science terms, this structure ensures it sets firm, glistens with a shine, and has that incredible crisp snap when broken.
It’s a very advanced chocolate-making technique, taking the right balance of skill and patience to get just right.
When chocolate isn’t tempered properly, it can appear quite dull in colour with an overly crumbly texture. It can even sometimes develop a chalky-white coating, also known as bloom — a big issue for chocolate makers. (Did you know that storing chocolate in the fridge can also cause bloom?)
No matter if you’re dipping strawberries in a cacao blanket, moulding chocolate pralines to perfection, or coating truffles for an expert finish, mastering the art of chocolate tempering is essential if you want a polished and professional appearance.
Why do we temper chocolate?
As surprising as it may seem, tempering isn’t all about looks. While glossy chocolate with a mirror-like shine is undeniably appealing, the tempering process can also play a part in:
-
Texture: When chocolate is tempered correctly, it will have a smooth, velvety, and satisfying texture.
-
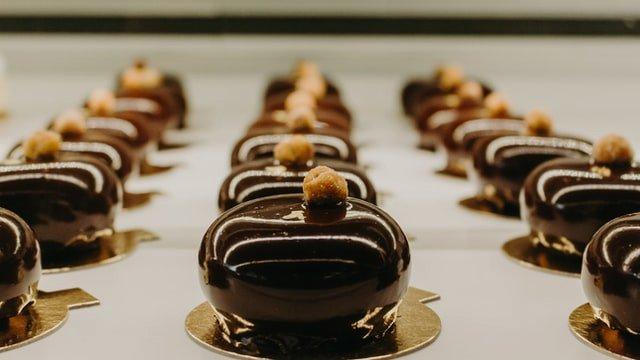
Stability: Tempered chocolate can hold its shape well at room temperature, making it ideal for chocolate bars and more decorative cacao creations like our patisserie chocolates.
-
Mouthfeel: The tempering process can also enhance the crisp snap of chocolate, followed by a silky melt-on-the-tongue mouthfeel.
-
Shelf life: With tempering, chocolate can resist blooming more efficiently, which lasts longer than untempered chocolate.
So, next time you try one of our chocolate products and marvel at their beautifully intricate details, remind yourself to go a step further and experience all of the elements as one. This is the power of chocolate tempering.
Why we temper chocolate at Hotel Chocolat
At Hotel Chocolat, tempered chocolate sets the foundation for all of our products. From casual home bakers to our in-house chocolatiers, tempering is essential to the chocolate-making process.
For instance, chocolate decorations like delicate curls and whisps, latticework, and hand-piped designs all rely on tempering and the structural integrity it provides. The same goes for our thick, sturdy chocolate bars, as tempering delivers the robust snap that so many of our guests love.
Dipping and moulding are very common occurrences in the world of Hotel Chocolat, and tempered chocolate allows us to ensure a smooth, glossy coating that won’t melt at the touch. The result is a flawless finish that we can always rely on for product assurance and quality control.
How to temper chocolate like a master chocolatier
With the basics of chocolate tempering firmly under your metaphorical chef’s hat, it’s time to put your chocolate knowledge into practice. Here is a step-by-step guide on how to temper chocolate at home.
What you’ll need
-
High-quality chocolate — we recommend our versatile cooking chocolate slabs and batons for the best results).
-
A digital thermometer — precision is key to chocolate tempering.
-
A heatproof bowl and saucepan — to ensure the melting process is as gentle as possible.
-
A spatula — to keep the cacao moving.
-
A clean and dry work surface — even the tiniest splash of water can cause chocolate’s sugar and cacao particles to stick together and seize.
The seeding method for chocolate tempering
Remember — tempering is a process that requires practice and patience. You may not get it spot on the first time, but who ever got anything correct on the first go?
The seeding method for chocolate tempering is generally considered the easiest, most popular, and most reliable way to achieve the desired results. It works by combining tempered chocolate with untempered chocolate.
-
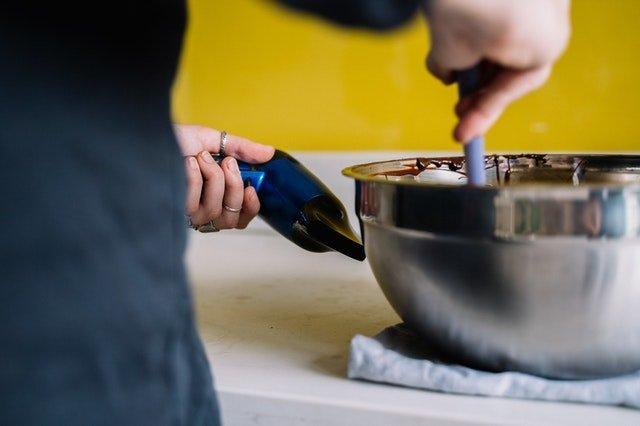
Melt two-thirds of your chocolate gently over a bain-marie. To do this, fill your saucepan with 1-3 inches of water and bring it to a simmer. Place your heatproof bowl filled with finely chopped chocolate over the water, ensuring that the bottom of the bowl is suspended and does not touch the water’s surface.
-
Stir the chocolate constantly using your spatula. You can learn more about melting chocolate in our guide.
-
Wait until the chocolate reaches the following temperature, checking with your digital thermometer:
- Dark chocolate (45 – 50°C)
- Milk chocolate (40 – 45°C)
- White chocolate (38 – 42°C)
Want to learn more? Find out the science behind the melting points of different chocolate types.
- Remove the chocolate from the heat.
- Gradually add the remaining third of finely chopped chocolate — this will be your ‘seed’. Stir continuously with your spatula until the mixture is fully melted and cooled to the following temperatures:
- Dark chocolate (27 – 28°C)
- Milk chocolate (26 – 27°C)
- White chocolate (25 – 26°C)
6. Gently reheat the chocolate in five-second bursts. Do this until it rises back up to:
- Dark chocolate (31 – 32°C)
- Milk chocolate (29 – 30°C)
- White chocolate (28 – 29°C)
7. Congratulations! Your tempered chocolate is ready to use.
What to do with your tempered chocolate
Once you’ve mastered the process of chocolate tempering, you can apply and use this silky-smooth concoction in many ways.
-
Create your own chocolate bars and bites using simple or adventurous moulds. Why not add your own flavours by taking inspiration from our own? Try making chocolate with a hint of sea salt, a dash of chilli, or a sprig of mint.
-
Coat your homemade chocolate truffles or fruit, marshmallows, and nuts in the tempered chocolate mixture for a sleek and professional finish, enhanced by a satisfying crackle when you bite.
-
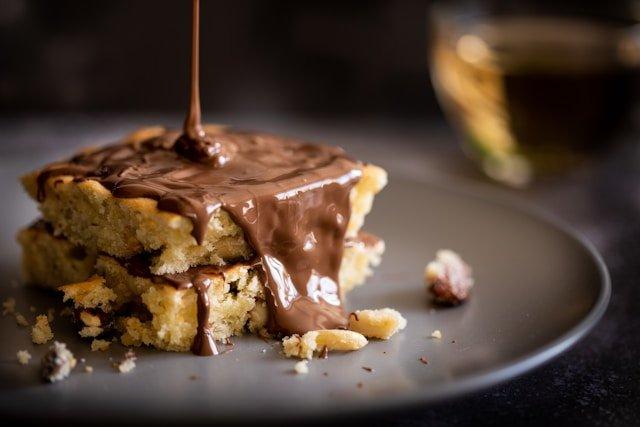
Drizzle it over homemade biscuits and cakes for rustic visual appeal and a welcome textural contrast.
-
Shave it into curls after setting it for 3-5 minutes at room temperature. You can then add it to desserts as a finishing garnish or to your whipped-cream-topped hot chocolate as an extra touch.
We have a plethora of chocolate recipes available, ranging from desserts and cocktails to savoury dishes. Why not have a look and see how you can upgrade each dish with tempered chocolate?
Become a tempered chocolate connoisseur with Hotel Chocolat
While chocolate tempering may seem like an art reserved for only the most avid of bakers and chocolatiers, when stripped down to the basics, it’s actually a very simple and beneficial technique that can be used to enhance your dishes.
If you’re looking for the highest quality cacao bars to experiment with, look no further than our cooking chocolate and chocolate bar collections for the ideal foundation.
With a little patience and the right technique, we believe that anyone can achieve a glossy, snappable finish worth being proud of.